On this site I have collected all information about how to connect different BMSes to the Victron Venus OS. This will work with any Victron GX device or the Raspberry Pi running Venus OS.
BMS Communication can be used just for information purposes, so you can monitor your BMS while away from home, or for fully controlling your solar-battery system through your BMS.
Also, check out the BMS comparison spreadsheet for the larger industrial style BMSes
RS485-BMS Connection to Victron Venus OS

A very nice gentleman named Louis van der Walt started this project many years ago and recently it has been taken over by Mr. Manuel. He continues this project and is currently developing a solution for connecting some of the most popular BMSes like JK, JBD, DALY, Heltec to the Victron Venus OS. He’s doing this in his own time and publishes the software for free. So please support him by clicking on his website and donating to him!
Here is my workshop tutorial video where I show how to install this driver in a beginner friendly way on a Raspberry Pi with Venus OS. We also connect two different JK-BMSes and one Daly at the same time. The same principal will work with all other BMS mentioned on Manuel’s website.
I have successfully tested the following USB-RS485 converters and adapters with Louis’ driver and also the new JK Inverter BMS:

Waveshare Industrial USB To RS485 Converter with FT232RL Chip
The most expensive adapter in the round but this was confirmed by several people in forums to be working.
I also wanted to test if there is a difference in speed and reliability to the other cheaper adapters.
The adapter comes with a small screwdriver, a removable terminal adapter and 1m USB extension cable in the box. It also has several protection features which other cheaper adapter may not have.
AliExpress product link
Amazon product link
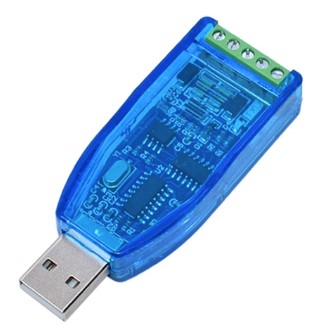
Industrial USB To RS485 422 Converter with CH340G Chip
This is the cheapest adapter I could find online. I wanted to see if it works and … it does. No real difference to the more expensive ones…
AliExpress product link
Amazon product link
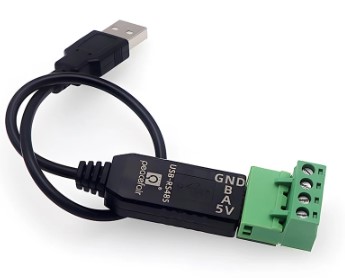
RS485 to USB Adapter Converter
Not sure which chip this one has, but it works with the driver.
It has a removable terminal adapter and comes with a short 20cm USB cable and a slim USB plug. This makes it really easy to plug into the Raspi directly and don’t block the neighbouring ports. It also has two LEDs to indicate data transfer. Great device, it’s my favourite.
AliExpress product link

Seplos USB to RS485 Adapter
This USB to RS485 Adapter has the same FTDI chip inside as the cheaper Waveshare adapter above.
I use this adapter all the time as it has an RJ45 port and can connect through a normal standard LAN cable to any BMS, talking RS485.
AliExpress product link

Jikong BMS RS485 Adapter
Please pay attention here and confirm with the shop that this adapter will work with your JK-BMS. There are two versions out there:
– for the 4s-8s BMS
– for the 8s-24s BMS
AliExpress product link
You can also just use a USB-TTL adapter and connect Tx, Rx and ground directly to the BMS (no need for this JK-adapter here then). You would need the small JST plug to connect to the BMS though:
AliExpress product link (Generic USB-TTL adapter)
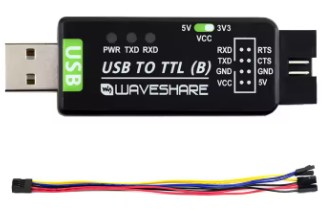
AliExpress product link (Waveshare USB-TTL with CH343G Chip)
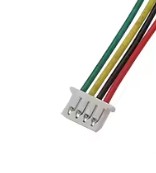
AliExpress product link (4-pin mini JST connector to connect to the GPS port of the JK-BMS)
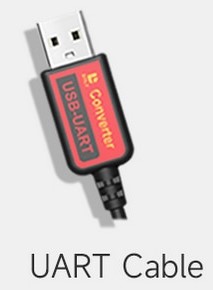
Daly USB-UART cable
With this cable you can pretty much connect any Daly Smart BMS to the Victron system. There is no further adapter needed.
AliExpress product link
Raspberry Pi CAN-BMS Hat installation for
Victron Venus OS + CANable USB Adapter
We now have an easy solution to connect CAN-BMSes to the Victron Venus OS. They show up in the same way as the above BMSes connected through RS485. Almost any smart BMS can therefore act as the battery monitor in Venus OS.
I made a video with a step-by-step procedure on how to connect your CAN-BMS to Venus OS using a Raspberry Pi.
Programming of your Raspberry Pi with Venus OS:
– login to the console of your Pi
– type: nano /u-boot/config.txt (opens the config.txt file)
– add the below code to the [all] section depending on your adapter you are using
– save the file and reboot the Pi
– after reboot the CAN Hat should show under Settings->Services->can0. Configure it for CAN-bus BMS (500 Kbit/s) as shown in the video above.
Both CAN adapters below are working. If it does not work right away, just keep rebooting the Pi until it works.
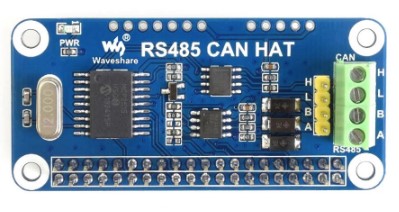
RS485 CAN BUS Module HAT Expansion Board for Raspberry Pi
– Operating voltage: 3.3V
– CAN controller: MCP2515
– CAN transceiver: SN65HVD230
– 485 transceiver: SP3485
AliExpress product link
Amazon product link
Add this code for the Hat above to the [all] section of your config.txt:
dtparam=spi=on
dtoverlay=mcp2515-can0,oscillator=16000000,interrupt=25,spimaxfrequency=2000000
Change the oscillator number to whatever the number on your crystal is (only change the first two digits!)
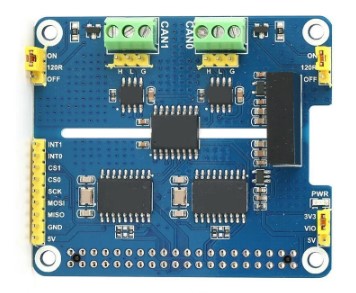
2-Channel CAN BUS Extension Expansion Board Module HAT Kit for Raspberry Pi
I’ve tested this one as well in another video and it works as well. It connected to my Seplos BMS which now shows up in Venus OS as a battery monitor. The adapter is also isolated. Perfect!
Amazon product link
Add this code for the Hat above to the [all] section of your config.txt:
dtparam=spi=on
dtoverlay=mcp2515-can1,oscillator=16000000,interrupt=25
dtoverlay=mcp2515-can0,oscillator=16000000,interrupt=23
dtoverlay=spi-bcm2835-overlay
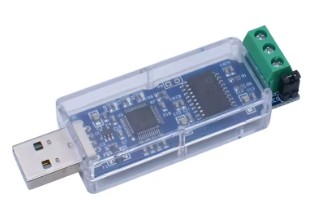
CANable USB to CAN Adapter
There is now an easier method to connect CAN to a Raspberry Pi. It is a USB to CAN adapter which is just plug’n play. There is no configuration necessary, just plug in, connect the CANH and CANL cable to the adapter and it will work under Venus OS. I have this in use for almost a year now but haven’t made a video about it yet. But rest assured, the video will come and this adapter just works. I have ordered the isolated version of this adapter through the link below. Make sure, you select the isolated version when buying!
AliExpress product link
VE.Direct 4-port isolated USB adapter
Running out of USB ports on your Raspberry Pi or Cerbo GX? Don’t want to use these cheap DIY USB adapters wich are not isolated, to connect your Victron solar charge controllers?
No problem! Down here is exactly what you need to save on USB ports as well as make your installation way safer by using this 4-port USB converter with isolated ports from Duppa. Watch the video, where I show the details and how to set it up. It’s very easy.
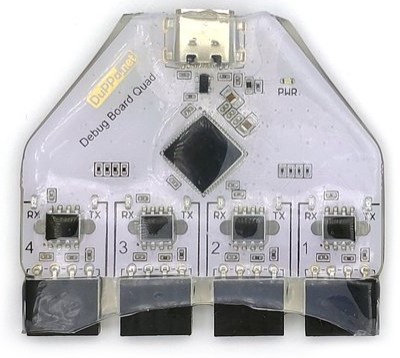
DUPPA USB – UART Converter with 4 isolated ports
This is an amazing product. It connects up to 4 Victron devices to one USB port of your GX device. It is plug and play and does not need any configuration. It has 4 isolated pin headers, so you need to make your own cables to connect to a Victron VE.Direct device.
Product link and more information
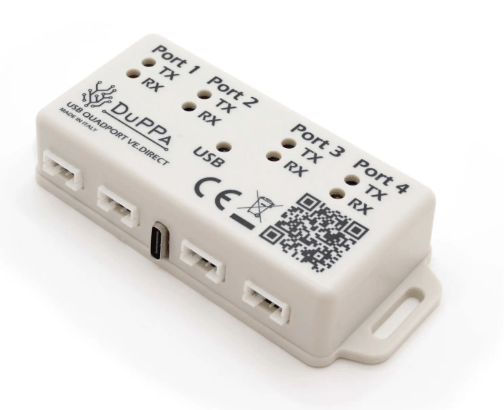
There is now a new version of this USB-Quadport converter. It has the correct JST VE.Direct ports instead of the pin header. It connects up to 4 Victron VE.Direct devices to a single USB port of a Cerbo or Pi, running Venus OS. Of course, all 4 ports are isolated! Additionally, the LED lights can now be switched off, if these are too bright at night.
This is a true plug’n play device!
Product link (isolated quad-port converter)
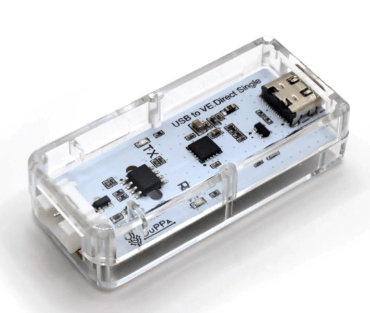
Product link (isolated single-port converter)
Duppa also has the VE.Direct cables from 0.5m all the way up to 10m. They connect directly between your Victron devices to the new USB Quad- or Single port converter above.
Product link
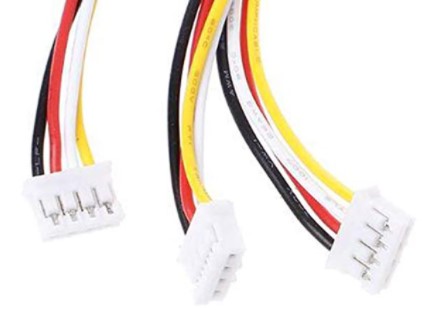
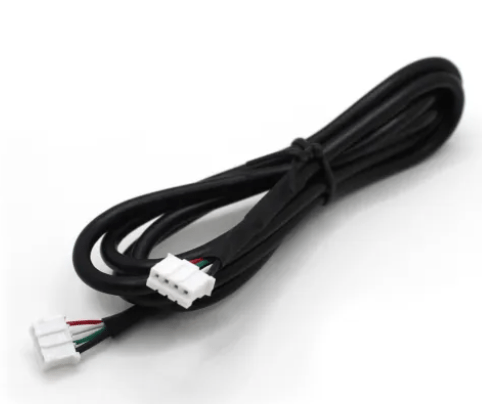
JST PH (2.0mm pitch) 4-Pin Male Header Cable
Unfortunately, I could not find any on Amazon or AliExpress which have these male pins at the end. Most of them have just a bare wire end. You may want to solder them to your USB TTL adaptor.
AliExpress product link
Amazon product link
I think you can order the cables with separate female sockets from here. These are the exact same ones I showed in the video:
Core Electronics
or
Adafruit
Seplos communication to Victron Venus OS
Here is how to parallel several Seplos batteries/BMSes and connect them to the Victron Venus OS, either on a GX device or on a Raspberry Pi with CAN-Hat as described a bit up on this page here.
The information online and the Seplos documentation are not very good, if you want to connect multiple Seplos BMSes to the Victron System.
We’re using RS485 for the internal communication between the batteries as well as CAN communication from the master battery to the Victron System.
This can be very confusing. So, hopefully this video and information clears things up, and helps you connecting your batteries to the Victron OS.
Seplos Google Drive
Seplos RS485 and CAN DIP Switch settings
Seplos Battery Monitor 2.9 (NEW)
Seplos BMS Firmware 2.8 (Dropbox link)
Seplos Android App (for iOS search for EN BMS in the Apple store)
All links on this page are affiliate links to support the channel. I’m getting paid a small commission if you order products or services through these links. This does not make the products or services more expensive for you.
